Damp in 1970s brick homes: what to check in Shire houses of that era
How double brick, cavity brick and brick veneer homes of the sixties and seventies get damp, and the checks that find the cause quickly.
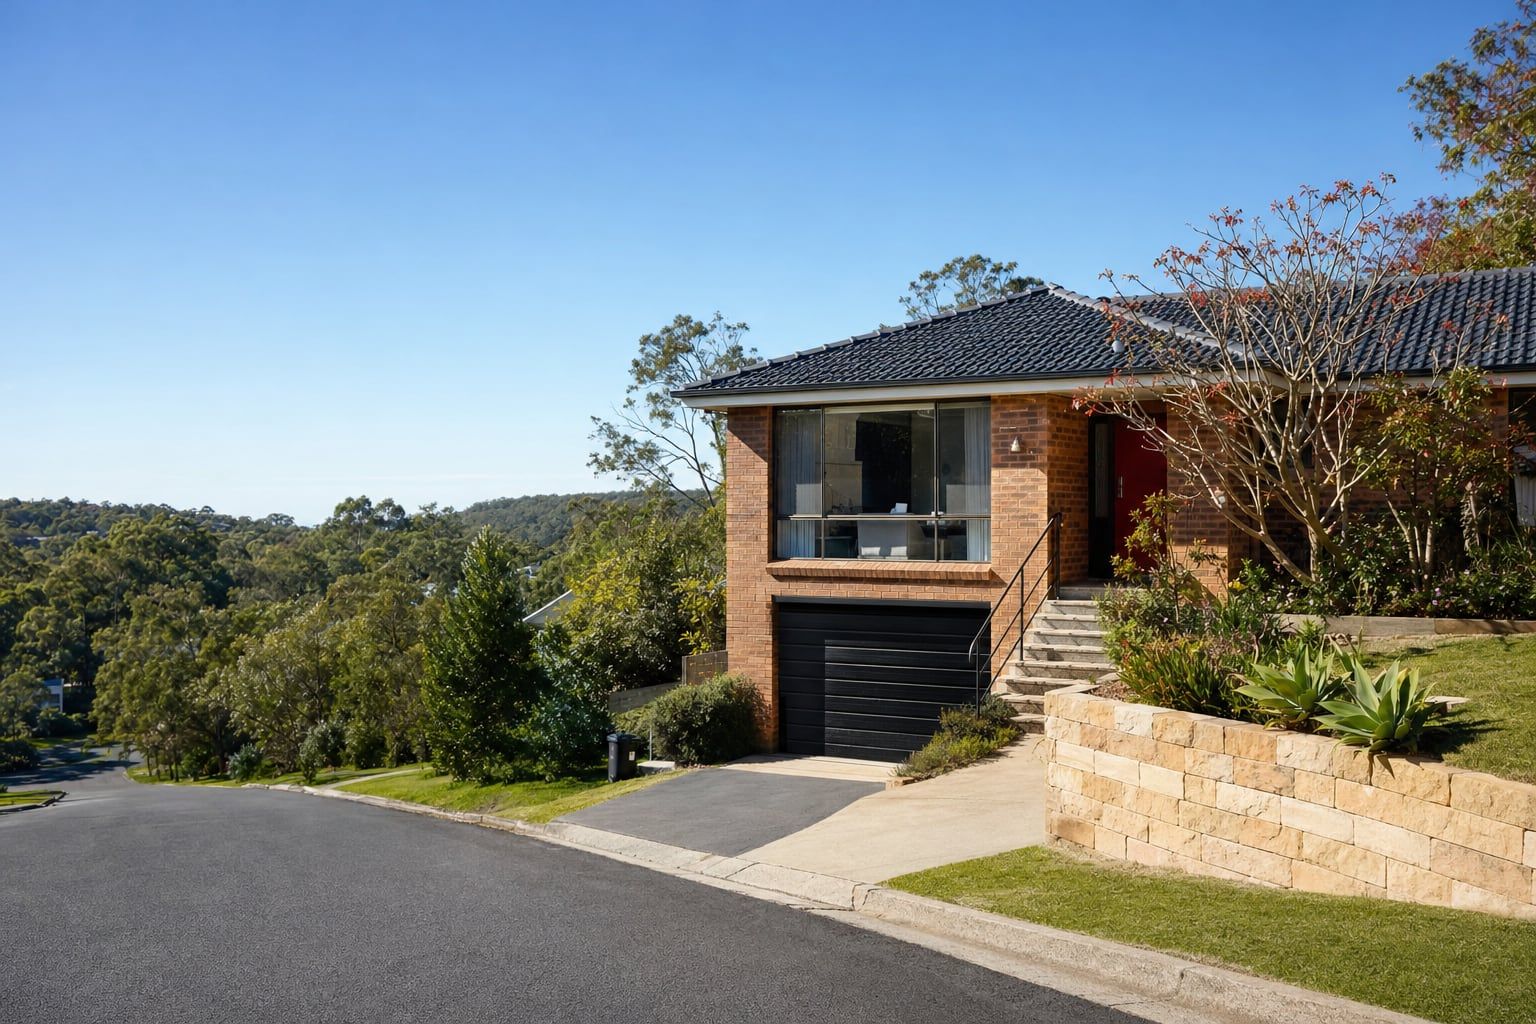
Damp in 1970s brick homes is something we see a lot of in the Sutherland Shire. The Shire grew fast from the late fifties through the eighties, and suburbs like Kareela, Jannali, Kirrawee, Gymea, Miranda, Engadine, Heathcote, Menai, Illawong and Bangor are full of brick family homes from that era. They were built with damp-proof courses that are usually still sound. So when they get damp, the cause is usually something that has changed around them since they were built.
The three kinds of brick home
Knowing how your house is built narrows down the cause quickly.
Double brick. Two skins of brick with a cavity between, plaster on the inside face of the inner skin. Common through the sixties and into the seventies.
Cavity brick on a slab or piers. Similar, with weep holes in the outer skin to let water drain from the cavity.
Brick veneer. One skin of brick outside a timber frame, plasterboard inside. It became the dominant way to build through the seventies and eighties.
To check, knock on the inside of an external wall. Solid and dense means brick; hollow means plasterboard on a frame, so veneer.
How these homes get damp
Raised ground. The most common cause by far. Decades of garden beds, topdressed lawns, paths, patios and pool surrounds have raised the ground against the house. Once it’s above the damp course, water goes around the course and into the wall. Our guide on pool surrounds and damp walls covers backyards in detail.
Buried weep holes. In cavity and veneer walls, weep holes in the bottom course of bricks let water drain out of the cavity. Covered by soil, mulch, paving or render, they can’t. Water collects in the cavity and, in veneer homes, can reach the timber bottom plate.
Bridged cavities. Mortar droppings left in the cavity during construction can pile up above the damp course and carry water across to the inner skin.
Render taken down too far. Where external render has been applied right down to the ground, it bridges the damp course and stops the base of the wall drying.
Covered subfloor vents. Homes with timber floors lose their airflow when decks, extensions and garden beds cover the vents.
Slope. Many homes of this era are split-level or built into the slope, with lower walls against the ground. Our guide on damp in split-level homes explains that.
Failed courses. Less common, but some original courses have been damaged by building movement, later renovations or plumbing work cut through them.
What the damp looks like
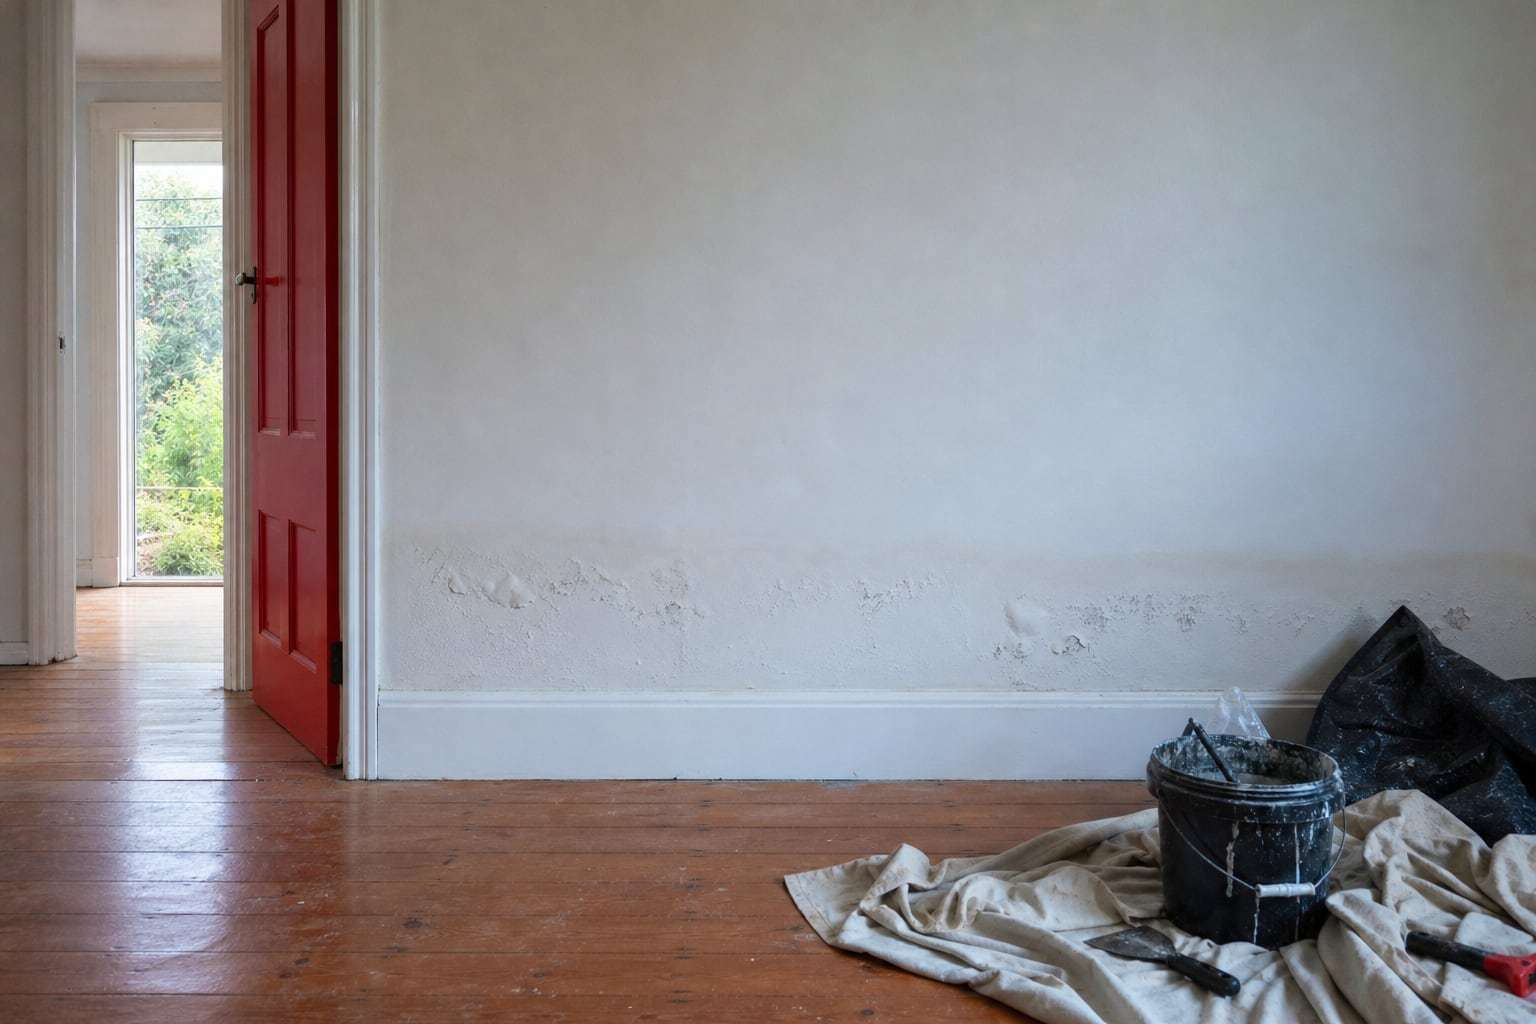
In double and cavity brick homes with plaster inside, you’ll see the familiar signs: paint blistering near the floor, salt, crumbling plaster, a tide mark and soft skirtings.
In veneer homes it looks different. There’s no plaster on brick inside, so look for swollen or soft skirtings, stained or soft plasterboard near the floor, mould low on walls or inside wardrobes, damp carpet edges and a musty smell.
Checks to do first
Find the weep holes. Walk around the house. Can you see small open gaps in the bottom course of bricks every metre or so? If not, they’re probably buried.
Compare ground and floor levels. Is the ground, paving or garden bed close to or above the level of the internal floor? If so, it’s likely above the damp course.
Look at the downpipes. Do they all run into the stormwater, or do some empty onto the ground beside the house?
Check the vents. If the house has a timber floor, are the subfloor vents clear and visible?
Note when it’s worst. Damp that gets worse after rain points to drainage. Damp that’s steady all year is more likely to be rising damp through a failed course.
Fixing it
Most fixes in homes of this era start outside: lowering soil and paving below the damp course, clearing weep holes, cutting render back above ground level, connecting downpipes and reopening vents. Our page on tanking and drainage covers that work.
Where readings confirm true rising damp in double or cavity brick, a chemical damp course injected into both skins restores the barrier. Damp subfloors get subfloor ventilation. And salt-damaged plaster or water-damaged plasterboard is replaced once the walls are dry.
Getting it checked
We’ll work out how your house is built, take readings on the affected walls, check weep holes, ground levels, drainage and subfloor, and tell you what’s causing the damp. Our page on rising damp treatment covers the full process, and the signs of rising damp page shows what to look for.
Updated
Damp in 1970s brick homes: common questions
Something else on your mind? Call and ask.
Did 1970s homes have damp courses?
Yes. By then a damp-proof course, often a polyethylene or bitumen-based membrane, was standard. Most are still intact. Damp in these homes usually comes from the course being bypassed rather than failing.
How do I know if my house is double brick or veneer?
Knock on the inside of an external wall. A solid, dense sound suggests brick behind the plaster; a hollow sound suggests plasterboard on a timber frame, which means veneer. Your building plans will say for sure.
Are these homes worth fixing?
Very much so. Most damp problems in houses of this era are caused by changes around the house, and the fixes are usually simpler than in much older homes.
Rising Damp Treatment in the Sutherland Shire
More guides for Sutherland Shire homeowners
- Damp in split-level homes: lower floors cut into Sutherland Shire sandstoneWhy the lower floors of split-level homes on Shire slopes get damp, how to tell it from rising damp, and what keeps them dry.
- Pool surrounds and damp walls: when the backyard is wetting the houseHow pools, paved entertaining areas and built-up backyards put water against Shire walls, and how to fix the drainage without starting over.